Wednesday 27 May 2015

DIY: Washday

*cleans cobwebs* I'm sooooooooo sorry Ive being MIA in the recent past. Please forgive me...for those that showed concern, God bless you guys, you motivate me a whole lot.  So, I have a lot in stock for you guys and I've just been so confused on which to post before the other but let's  talk about the typical washday. I feel like we spend a lot to maintain our hair when some natural products with loads of benefits that are inexpensive are around us. I am a student hence the need to be economical so, I hope this post is useful for people who may be too busy and dont know when they run out of some of their hair products or are just being conscious of their pockets.
This may not be as typical because people's regimen differ from the simple to the complicated. So, there's a slight twist to this, I'll be talking about my recent wash day with mostly natural products. I love natural products because they have a whole lot of benefits, hardly any side effects, irritations or reactions, they are easy to get...from your kitchen to your local market and the best part; they are cheap. Great deal yeah?  So...let's see how this goes. It's a long post and I hope I don't bore you halfway...lol.

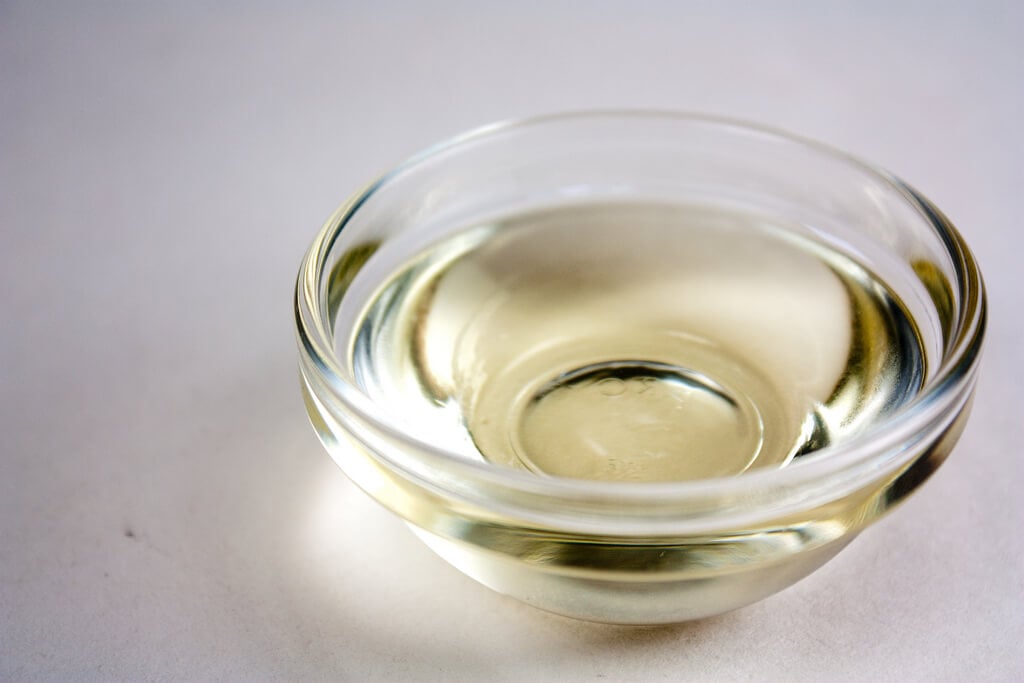
Prepoo: for my prepoo,  I used a mixture of honey and palm oil. I decided to use this mixture because of the amazing benefits of the product. They both help with moisture retention which I think every naturalista wants, they help add sheen to the hair, helps provide a solution to brittle and dry hair and even help to retain the natural oils of your hair. prepoo is a very important step because while shampooing your hair, your hair is stripped of its natural oils which can result to brittle and dry hair. This is NOT good for your hair.
Here's apicture of the palm oil and honey just before I mixed it...sorry for the poor picture quality. I assure you it will be fixed by the next post. I worked the mixture from the tip of my hair to the roots...you need to make sure the product circulates so you can get as much results. Afterwards, I covered my hair with a shower cap and let it sit for about 45 minutes. Just make sure you don't leave it for less than 30 minutes on your hair so the products can penetrative and work their magic on your hair. After this, I rinsed my hair and I was ready to shampoo it.

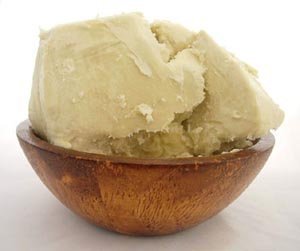
Shampooing: you wouldn't believe what weird product I used...unrefined black soap. When my friend saw this with me, she had this really weird look on her face and she's like...you this girl shaaaa...haha, my mom's friend literally called me a native doctor too. I just decided I wanted to try something different and so I got this from the local market during my last visit to Ibadan. So that's how I decided to use this instead of my shampoo. This is what it looks like
I love the fact that the lather is rich and I didn't need to wash my hair more than two times considering the oil I used in my prepoo. Well, I love unrefined products, they are affordable and, we all know how expensive it is to maintain your natural hair in this vain world so, the cheaper the better *winks*. I rinsed my hair with warm water after shampooing...its advisable to rinse with warm water. Sooooooo, moving on

Conditioning: this was literally the best part of the whole process for me...guess why? Just read on. In a bid to continue the diy thingy, I used a blend of natural products to condition my hair. I used:
1. Avocado pear
2. Egg white (the albumen)
3. Aloe vera gel 
These are the raw products.
I destoned the avocado (cut the avocado into two equal halves...halfway still, I mean, I stopped when I reached the stone and I parted it to remove the stone. That's pretty much what it means to destone an avocado. Some call it stoning as in...stone an avocado) then i used a spoon to scoop the amount I needed. I Then used a knife to peel off the top skin of the aloe vera and with a spoon, I scooped out the gel too. afterwards,  I broke a little part of the egg so twould be easy for me together the albumen without the yolk coming out too. Hence, this
So, onto the next level, I blended the products without water until it formed a smooth yummy paste.
So, I divided my hair into four sections and applied this into my hair working it from the tip to the roots. This smells so divine and I literally didn't want to rinse my hair. I  even slept off while waiting for the right time to rinse it...hehe. After applying this to each section,  I braided the sections...I hope that's the right thing to say sha. So, I set out to leave this in for 1 hour but I slept off ( don't worry about my bed sheet,  I obviously used a shower cap)  so I think I had this in my hair for about 2 hours or so. I then rinsed it off with cold water mixed with Apple Cider Vinegar ( ACV). In other words, it was an ACV rinse. So, that's basically it. After I towel dried my hair, I used my leave in conditioner/ detangler which I've shown you before, I then moisturised my hair with coconut oil and shea butter, and braided it yet again to dry and stretch. I didn't get so much of a stretch...iono why  but this is what my hait looked like the next day when  I was going out
I love me some bun for days. i hope this was helpful. Thanks a lot for sticking with me. I'd really love to know what you feel about this post and the blog in general, im open to new ideas and I hope this was helpful. See you in my next post.
Lipstick and kisses,
Dee.


Ps: use what you have to get what you want

Tuesday 28 April 2015

Perm rods: curling your hair without heat.

Hiiiii, hope you're having a nice day. As I said in the last post, my first article was supposed to be on my hair regimen but I got carried away, lol. hope that was helpful though. So, back to real business. I will be sharing with you a way of achieving fabmazing curls on your kinky hair or rather, type 4 hair. Rocking your relaxed hair? not to worry, you're most welcome because this method also helps to curl relaxed hair. Ill be explaining how to achieve maximum and beautiful curls without necessarily applying heat- the use of perm rods.
I follow a couple of hair...should I say pages? well, lol, biko help me find what to say. sha, I natural follow hair people on instagram and there was this fuss about perm rods (there still is). I saw a few videos and pictures and decided I wanted to try them out. God knows I was longing to have the result the ladies on the gram had and the next issue was where to get the perm rods. I went to www.olori.com.ng and I found that they had it in stock so I was going to place an order for it but for some reason, I did not that morning. I eventually went to a salon around and alas! they had it though it looked a little different from the ones I had seen online but I thought "all na perm rod" until I recently found out the difference which Ill share later. There are 12 pieces in a pack and I bought 3 packs and it retails for #300-#350 in Nigeria. Please do not buy it if it exceeds #400.
this is what mine looks like.
so, I started off on an already washed hair and these are the products and tools I used to roll my hair:
 1. tropic isle living leave in conditioner and detangler
I started off by detangling my hair. because of the strong scent of this product, I mixed it with water in a spritz bottle (I converted my finished air freshener bottle to a spritz bottle) hence the mixture served as a leave in conditioner, detangler and moisturizer. water is the basic moisturizer. I sprayed my hair just enough but I was careful not to allow it to get too wet and then I finger combed my hair gently. 
2. coconut oil
I then locked the moisture with my coconut oil. this step is as important as the previous step. It is important to know that oils are not moisturizers but they help to trap in as much moisture in your hair hence the need to use oils after moisturizing. you can make use of other oils. One of my favorites is the Jamaican black castor oil popularly known as JBCO. They (coconut oil and JBCO)  are available at www.olori.com.ngwww.naturalnigerian.com and www.konga.com they deliever nationwide.
3. shea butter:
I then sealed with my shea butter. I so love shea butter that I dont know if I am willing to try out another butter. I can be conservative. The shea butter and the coconut oil pictures were gotten from the web. I got mine from the market so I put it in the ice cream container in the previous picture. you can get shea butter from the websites above or the nearest market to you. its super affordable and EXTREMELY useful. By now, you should have noticed that I used the LOC method. For those who do not understand, I'll do another post on it. having done these, I was ready to set my hair.
4. I sectioned my hair into 4 parts which I combed individually and packed in a bun with yarn.
I made use of a wide tooth comb to avoid breakage. This has being recommended by all natural hair enthusiasts, bloggers and professionals. Ditch your regular comb and treat your hair to a seamless wide tooth comb.
I prefer using yarn (AKA wool) to pack my hair because I discovered that rubber bands rip off my hair each time i pull them off and it just sucks.

5. Pathene truly natural hair defining curls styling custard:
this is my current curling product though Im looking to getting a better product and your suggestions are welcome. I then loosen one bun and part into several other portions. depending on how you want your curls to be, the smaller the sections, the curlier (if there's any word like that) it gets. so, I pick a section, twirl the hair like i want to do a bantu knot and then roll my hair on the rod. I then secure it with the "lock". It is also important to know that the manner in which you roll the hair would determine the end result. You may decide not to even twirl the hair and just roll it like that and you may also decide to twist your hair before curling it. either ways, you would get beautiful curls at the end.
so, this is what it looked like after i rolled it.
I left it overnight in order to let it get dried. it is unsafe to remove your perm rods while your hair is still wet or moist as it will affect the curls. to take it down, I oil my hands with coconut oil or even shea butter, gently and carefully remove the perm rods by  removing the lock and rolling it in the reverse. then i gently part the curls,fluff till i get my desired style then use my wide tooth comb to pick the roots and voila! i have my beautiful curls without heat.

I hope this post is well detailed and you enjoyed it. kindly let me know what you think in the comment section. you can also follow me on instagram @deola_f. If the pictures are not clear,  you can click on them.
thanks,
Dee.


p.s:Your crown is your hair, be proud of your crown, and BeYouTiful.